
Paint your trim like Pro:
Baseboards and trim are often overlooked when it comes to home improvement projects, but a fresh coat of paint can make a big difference in the overall look and feel of a room. Whether you’re looking to update the color or simply refresh the existing paint, this guide will walk you through the process of painting baseboards and trim.
Step 1: Prep the Area
Before you begin painting, it’s important to properly prepare the area. Start by removing any furniture or decor that may be in the way. Next, use a putty knife to fill in any holes or cracks in the baseboards or trim. Once the filler is dry, use fine-grit sandpaper to smooth out the surface. Finally, use a damp cloth to wipe down the baseboards and trim to remove any dust or debris.
Step 2: Choose Your Paint
When it comes to painting baseboards and trim, it’s important to choose the right type of paint. A high-quality, oil-based paint is a great option as it’s durable and dries to a smooth, hard finish. However, be aware that it takes longer to dry, and has a stronger odor than water-based paint. Another option is Latex paint, which dries quickly and is easy to clean but is not as durable as oil-based.
Step 3: Apply the Paint
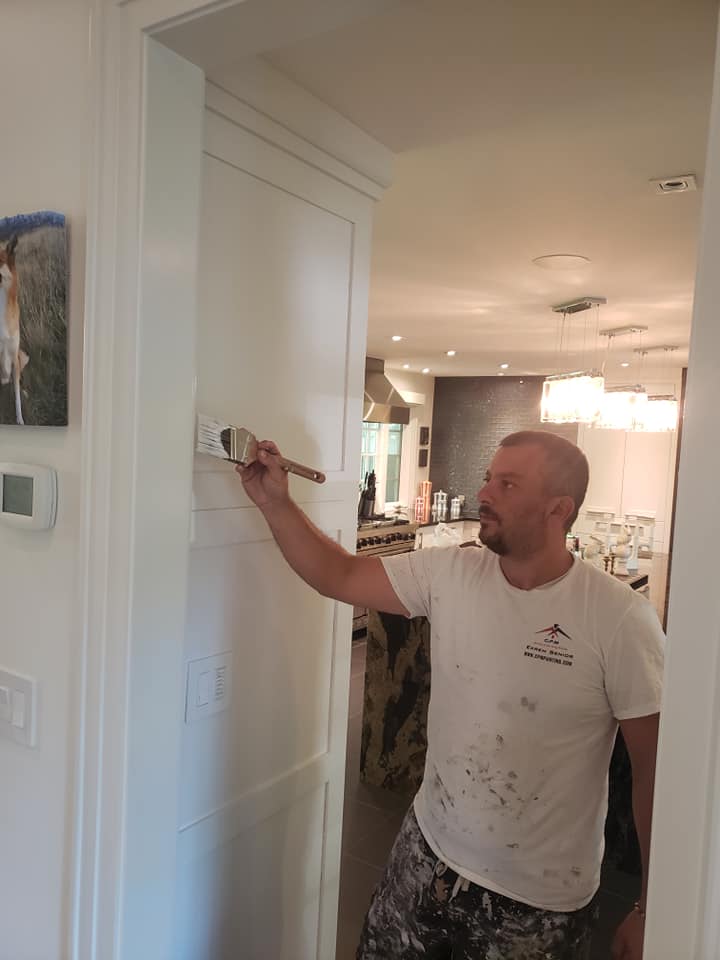
Once you’ve chosen your paint, it’s time to start applying it. Use a high-quality paintbrush or roller to apply the paint in thin, even coats. Be sure to pay extra attention to the edges and corners, as these areas tend to be the most difficult to paint. Allow the paint to dry completely between coats, and apply a second coat if necessary.
Step 4: Clean up
After the paint has dried, use a damp cloth to clean up any drips or smudges. It is also important to properly clean your brushes and rollers so that they can be used again in the future.
Step 5: Enjoy Your Freshly Painted Baseboards and Trim
Your baseboards and trim are now looking brand new. And you can enjoy them for years to come.
Conclusion:
Painting baseboards and trim may seem like a small project, but it can have a big impact on the overall look and feel of a room. By following these steps, you can achieve a professional-looking finish that will last for years. Remember to take your time and be patient, and don’t hesitate to reach out to a professional if you need help. Happy painting!
Note: This is just a sample blog and not a detailed guide and the actual process of painting baseboards and trim may require professional help and may vary based on the type of material, condition, and paint used.