
1. Choose your color
Browsing through fan decks and paint chips can be overwhelming when you get started with your Halifax interior painting project. Start by figuring out the general color characteristics: Do you want a warm or cool shade? A neutral or a saturated shade? If you have existing furniture or art, you’ll also want to consider how the shade will complement them. Once you have a sense of what you’re looking for, pick a few shades, and get samples. Test the shades to see how they look in the room at different times of the day.


Many paint companies also have tools on their websites that will let you upload a photo of your space and preview different colors on the walls. But colors can look different in real-world conditions, so you’ll still need to try it out in the space.
2. Pick out your tools
Every project is unique and you may need different tools depending on the paint you choose and the condition of your walls, but there are a few must-haves.
Paint
Paint roller
Paint roller extension pole
Drop cloths
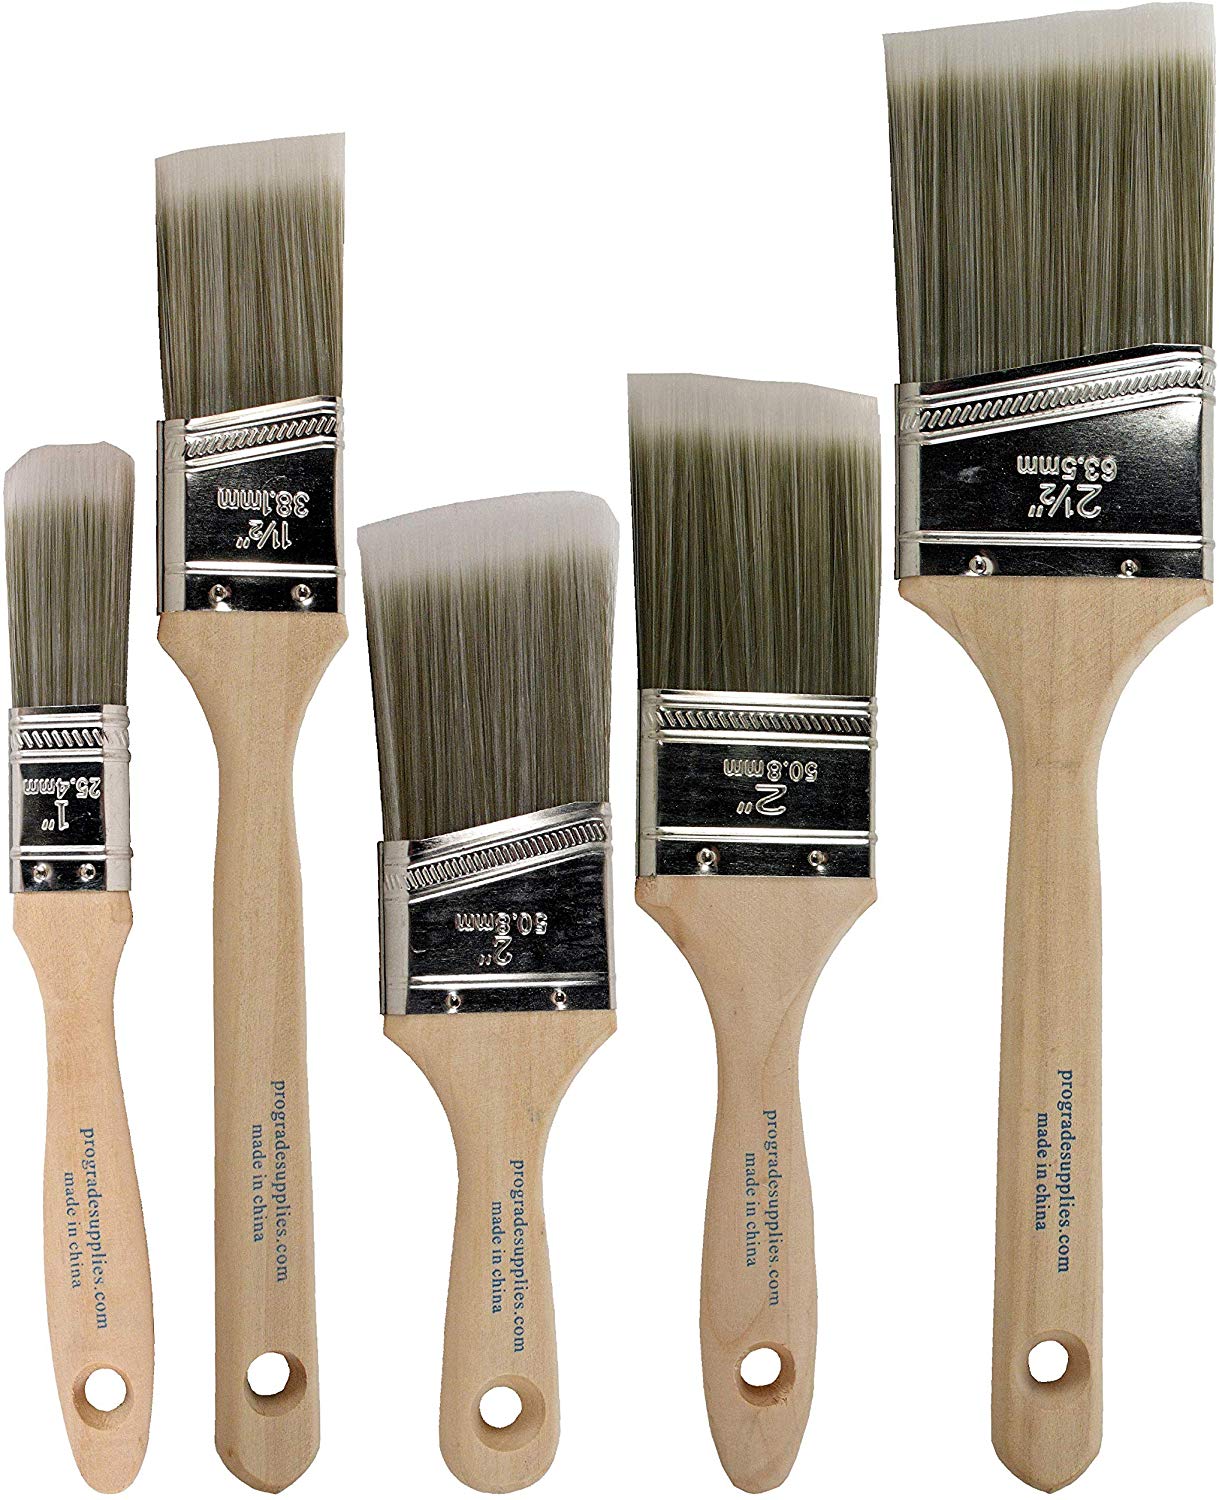
Paintbrushes


Paint tray
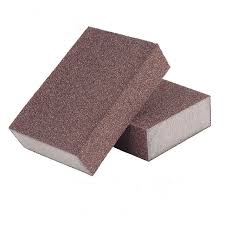
Sandpaper
Painter’s tape
Rags
Putty knife
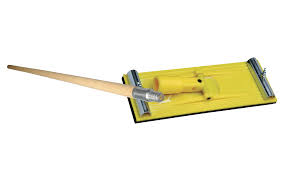
Plastic Pole Sander Head
3. Determine how much paint you’ll need
When it comes to painting, there are some important considerations to keep in mind. Whether you’re painting a powder room or the exterior of your house, it’s important to know how much paint you’ll need. The general rule of thumb is one gallon per 350-400 square feet, but using a paint calculator can provide a more precise estimate, especially for larger projects.
In fact, companies like Pratt & Lambert offer paint calculators that take into account window and door measurements, which can help you get a more accurate estimate. Additionally, it’s important to keep in mind that highly textured surfaces or cabinets with complicated millwork may require more paint. To ensure you have enough paint for your project, C.P.M.-standard recommends purchasing about 10 percent more than calculated.
Changing any color from dark to light or the opposite is not anymore a big deal and only required two coats if you hire professional services like C.P.M. we offer two coats guaranteed. Contact us for more information.
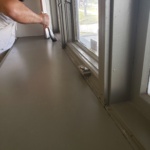
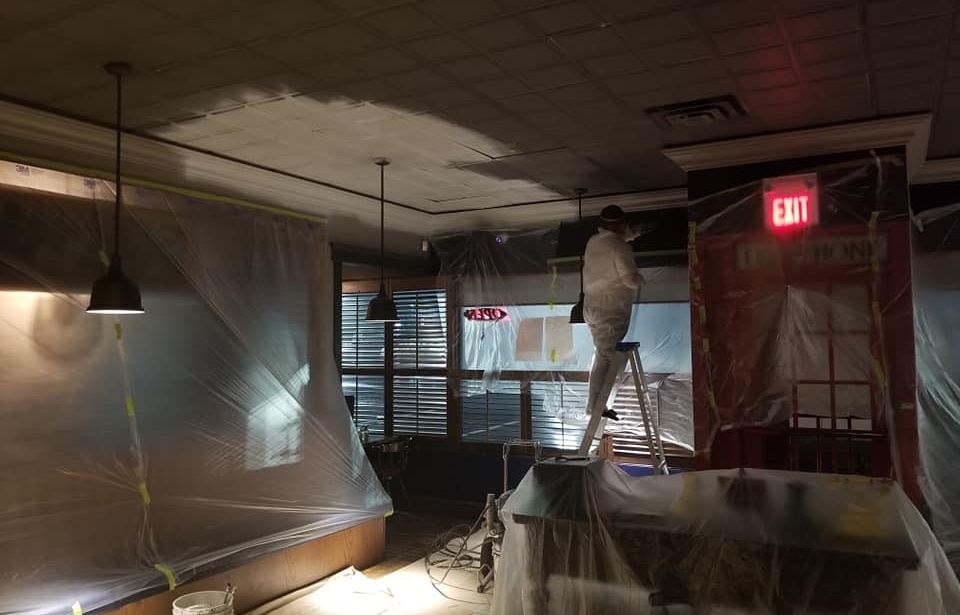
4. Prep the walls and the room
You don’t want to damage your favorite sofa or that heirloom Grandma gave you, so empty the room of all the furniture and valuables. If you don’t have enough space, push everything to the center of the room, cover the pieces with a drop cloth or lightweight plastic sheeting, and do the same with the floor. Don’t skip the drop cloth as the paint will splatter, we promise.
If you need to cover a ceiling light or fan, shut off the circuit breakers to the room and set up a work light. Remove cover plates from switches and outlets. Protect switches with tape. Tape the screws to the back of the plates so you don’t lose them.
If you’re painting the ceiling, you’ll need to protect hanging fixtures like ceiling fans and pendant lights. For fans, remove the blades, loosen the cover plate, and slide it down. Then, wrap the fixture with plastic. Hanging pendant lights should have a cover plate that just slides down too.
You should also cover up recessed lights. First, remove the bulb. Then pull the outer trim down just a little bit. Release the springs or wires holding the cover in place and cover it with plastic and tape. Now you can paint the ceiling area covered by the trim.
To get a nice and smooth finish, use a Plastic Pole Sander Head and sand all wall surfaces with 100-120 grit sandpaper. After this process, you will be able to see all imperfections like nail pops and bumps.
Scrape off any flaking paint with a putty knife, just enough to remove the loose stuff.
5. Prepare the Area for Painting
Grab a roll of painter’s tape, like FrogTape, and firmly apply it to the edges of the room’s corners, base,dcc and crown moldings, and door and window casings, using a putty knife to seal if needed. Getting a good seal so the paint doesn’t get under the tape is everything, plus it will pull away clean after everything is dry. If you dare (or have an artist’s steady hand), you can skip taping entirely. Remove any outlet and light switch covers and apply the painter’s tape to protect the outlets and switch from paint drips.
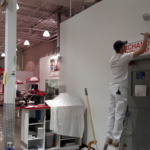
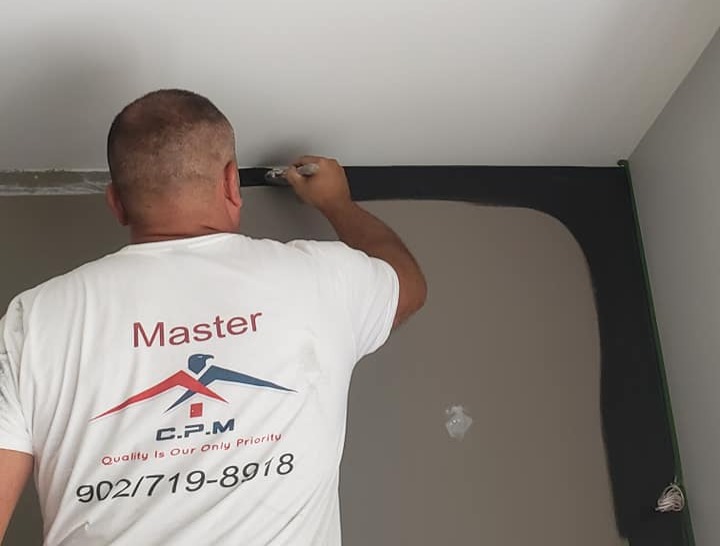
6. Paint Like a Pro
A key step in knowing how to paint a room is mastering the “cut-in” painting process. Cutting in is basically outlining the room.
Use a paintbrush to create 2- to 3-inch bands around the edges, corners, and frames of a room.
When cutting in, you can try to do the entire room at one time. However, your border areas will probably dry before you overlap them. This may result in a slight difference in sheen because the two coats won’t blend seamlessly.
Paint walls one at a time. You’ll achieve a smoother, more seamless look because you’ll be able to blend the wet paint you’ve brushed on with the wet paint you’re rolling. This is one of the best painting techniques for walls and is called “working to a wet edge.”
Working from bottom to top, roll back and forth across the wall in a series of V- or W-shape strokes until the section is covered. This process from bottom to top is most important when rolling because you will prevent over spraying.
Overlap areas already painted, lightly lift the roller off the wall to avoid leaving end marks, and seamlessly blend different areas.
3 Comments
Enjoyed reading through this, very good stuff, regards.
Thank You.
In my opinion, you are right. I can prove it. Write to me in PM, we will discuss.